Thursday, August 23, 2012

Memorial


My Memorial to the 29 miners who died in the Pike River Coal Mine is finished after one hundred-plus hours  of stitching over several months. It was quite a sad piece to be working on and I'm glad its done now.  

I feel for the families whose sadness has no end, who are still waiting and wishing for the bodies of their men to be recovered.

I entered Memorial for an art award but it wasn't selected, so now its packed away waiting for me to figure out another way to share it out into the world.  Because it is an installation that takes up a lot of floorspace I guess its not easy to slip into a gallery programme.  

Despite the sombre subject and its political implications I think Memorial is beautiful to look at, with so many cones repeating, varied by subtle shades of grey and constructed with deliberately irregular stitching.


Thursday, August 16, 2012

Denniston Sampler


In the spirit of the crocheted coral reef I made a few years ago, I'm working on a vocabulary of stitches to represent the mosses, lichens and ferns of Denniston Plateuau. The fragile and unique ecosystem, which seems likely to be lost to opencast coal mining soon, is too delicate for yarn. Instead, I'm working with embroidery floss and stitches, and fine crocheted lace. 


I've been playing around with the stitches on a felt rock that I made for the purpose, a deliberately misshapen slab imitating Denniston's flakey sandstone.  Most of my mosses are pretty straight foward knots, French and Bullion as they are perfect for imitating this kind of low velvety moss.


I also played around with a long looped stitch, cut like a shag pile rug for a spikey moss like the one in the centre of this little clump.


This is the little clump that Robin looked at while we were on Denniston in June, and she said, can you make me this? And I said yes but it turned out a bit sparser than the real thing. Partly as I was impatient to finish it for Robin's birthday (and then I missed it anyway) and partly because I've been distracted by the house and garden that I'm moving to in two weeks.


Also, my crocheted lace green ferns looked ridiculous on the felt rock so I'm using them for something else.  And I couldn't resist adding my own favourite bit of Denniston flora, this low white fluffy thing that I am not sure whether its a fern or a moss or a lichen. If you know, please tell me, I hate my ignorance.

Mysterious Denniston species 
My version of the Denniston white fluffy thing looks like this. It's crocheted lace in a stitch I invented (of course someone probably already invented it, but I was following my intuition rather than a pattern so I can't acknowledge anyone else's version).

Denniston lace on the rock
I made short lengths of the crocheted lace, then starched and pinned it to dry stiff, then ruffled it as I was stitching it to the felt rock base to get the clumpy effect of the original. I do think its a pretty lace stretched out and I might find some other use for this easy and attractive pattern which allows it to be seen better.  Perhaps a gift for a soon-to-be-bride that I know.

Denniston lace: starched and stretched.

Friday, August 10, 2012

How to make a flokati-style rug


Sewing  a Woolrest into a flokati-style rug
 I'm moving to a house in a few weeks. That's right, a real house with rooms with doors, a garden, an oven, a laundry, a bathtub and a separate studio.  I won't know myself after 2 1/2 years living and working in one room, making do without an oven or washing machine, turning my bed into a sofa every single morning, playing Rubics Cube with my possessions every time I want to find or make something.

I have such a crush on the idea of my new home that I think about it all the time. Since I found out about it in early June my imaginative, creative energy has been increasingly absorbed with planning the practicalities and pleasures of setting up my life and work in a much larger space. I've tried to be constructive with the imaginative power of the long lag between knowing and moving with various anticipatory projects such as my 'flokati-style' rug.

I want a warm soft rug in the living room on the polished wooden floor and looked into all sorts of options for making rugs, since buying a nice one is out of my reach.  I was considering various kinds of rag rugs to make with my stash of blanket scraps when I came upon an old Woolrest mattress cover in an op shop for $7.  And suddenly I saw a shaggy sheepy rug as the cosy centre piece of my new lounge.

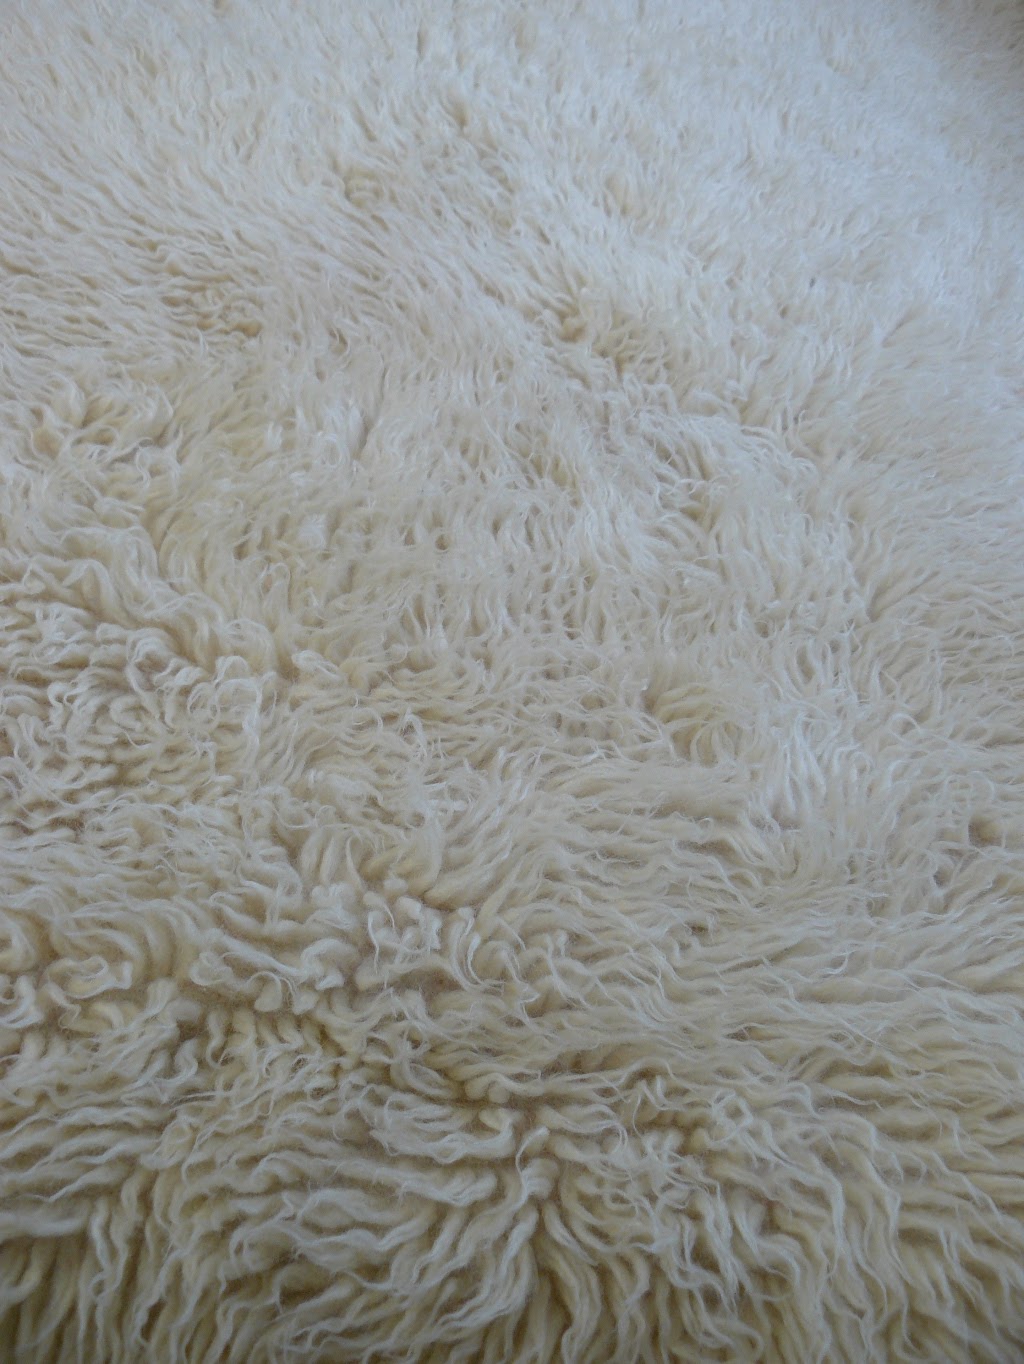
Woolrest before washing

The single woolrest was a bit tired and grubby when I got it, so the first job was to wash it by gently stomping warm soapy water through it in a bathtub and then rinsing thoroughly with more gentle stomping. I drenched a few big towels squeezing the water out.  After being thoroughly air dried, it came up creamy, fluffy and inviting.   I love the fact my rug is New Zealand wool because I really didn't want an acrylic rug.

I trimmed off the elastic (in good condition so saved for future projects) and label.  Then I backed the woolrest with a heavy coarse woven wool blanket that I'd been given but which was too stained to use for art.  I cut the blanket about 5cm bigger around than the woolrest, which was lucky as during the sewing they magically ended up the same size with very little trimming required!

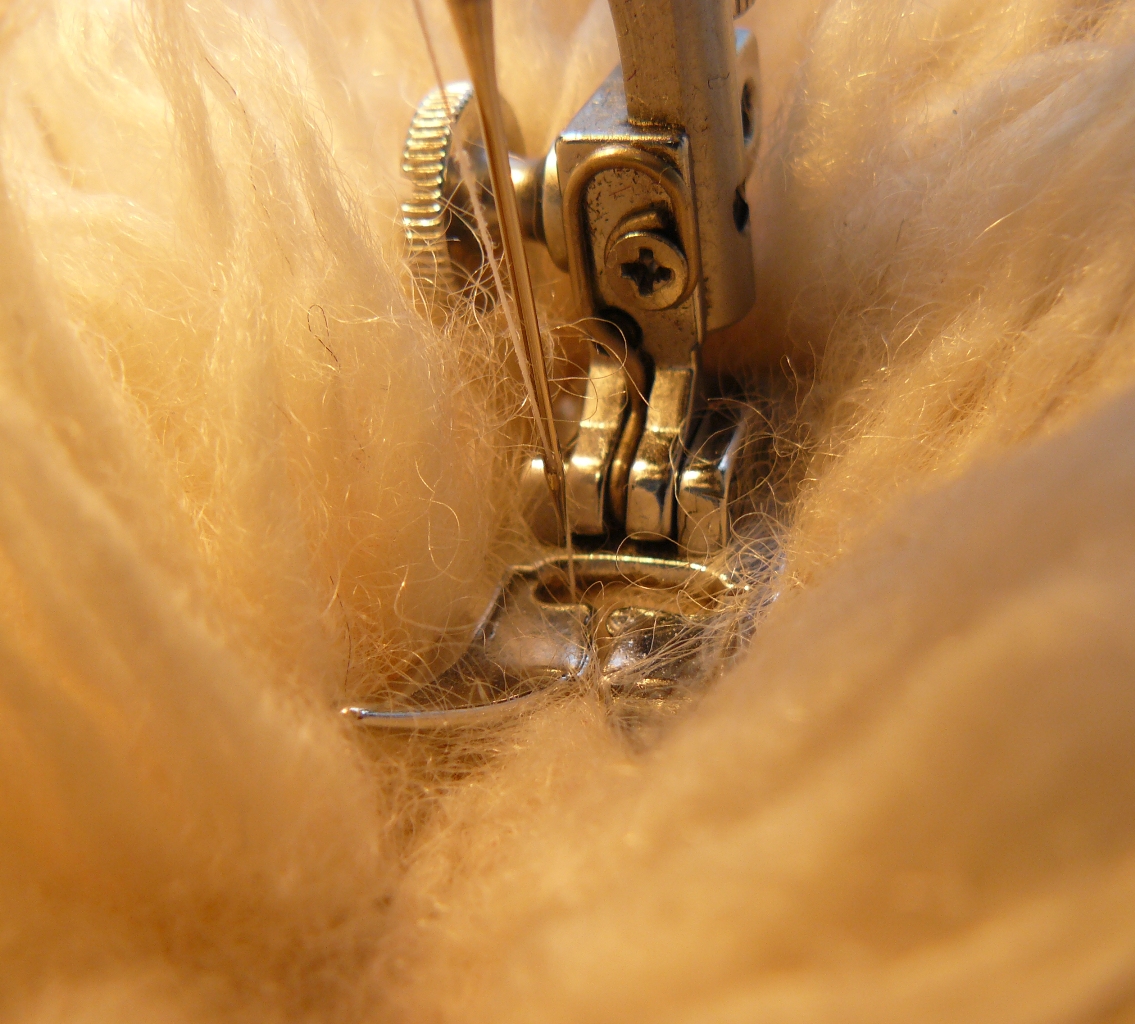
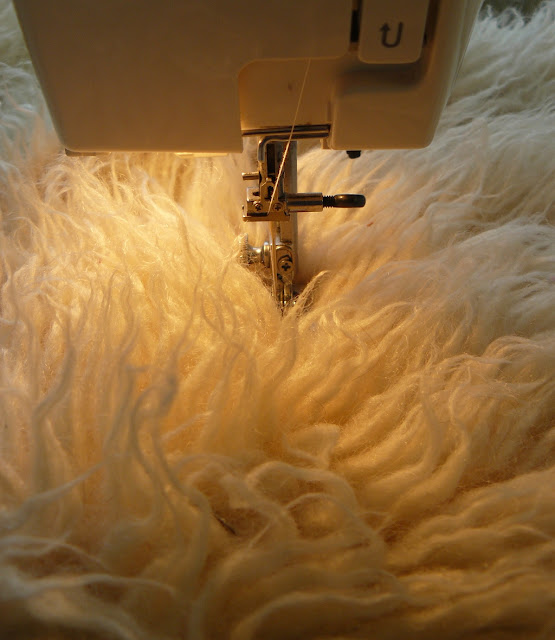
Woolrests are made of wool staples hooked through a loose wool weave so I could sew between the rows relatively easily.  It was slow going though because I had to make sure the long staples didn't get caught up in the machine foot, or sewn flat.  The weight and bulk of the rug meant I couldn't reach the middle of the rug with my sewing machine so I sewed three rows parallel to each edge starting as near the centre as I could get (about 30cm).I sewed two straight stitched lines inset from the edge and finally zigzagged around the perimeter (overlocking would have been even better).    I kept checking to make sure the blanket was flat and smooth, occasionally unpicking where puckers or bubbles crept in. I need the rug to sit flat and not be tripping hazard!

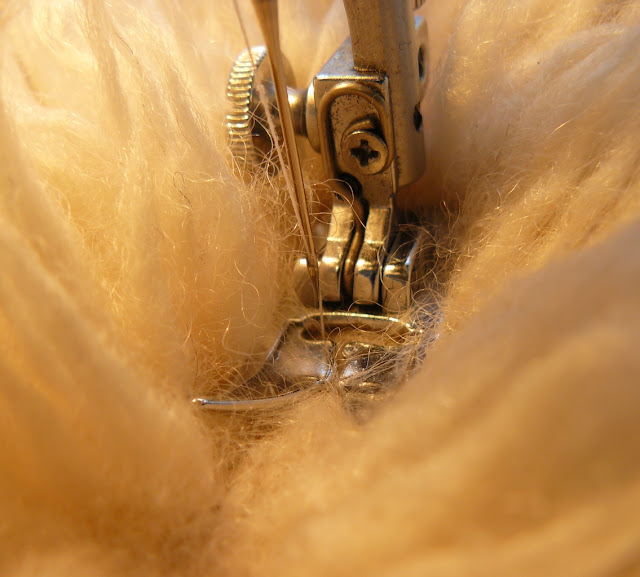
Stitching between the rows of wool staples
The final step was hand stitching wide strips of old yoga mat onto the back around the edges so it won't slip around on the polished wood. I put out a call on Freecycle if anyone had an old yoga mat, and was given a worn, stained mat that was almost ideal (a white mat would have been more perfect but lavender is good enough).  The yoga mat was molded with rows of tiny holes so I sewed through the holes, catching the blanket but not the woolrest.  I used an upholstery needle for a big running stitch and it wasn't as difficult or slow as I expected.

The whole project, including washing the rug and the yoga mat took about 9 hours (compared to 60+ for a rag rug). The cost was $8 including thread (real flokati rugs cost hundreds).  It will be a no-shoes and no-food rug because flokatis don't vacuum well and I don't want to have to beat it clean too often. It looks beautiful spread out in my tiny current home where I like to dig my bare toes into the pile and imagine lounging on it, in front of the wood burner of my future home.  22 sleeps to moving day!

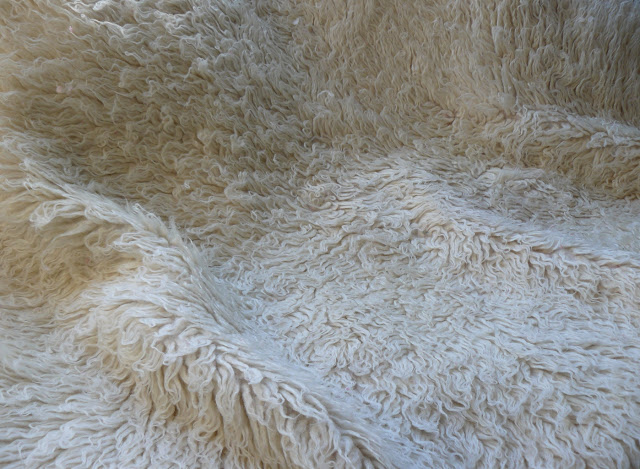
My newly completed snuggly, cosy, soft and warm 'flotaki-style' rug.
 PS This is my first attempt at blogging a tutorial-style post. I am learning lots from generous tutorials on other people's blogs (at the moment mostly gardening, machine-sewing and DIY decorating). I want to contribute back to the amazing pool of shared knowledge. Since I couldn't find any tutorials already online on this topic this is my gift back to the internet craft/DIY community. Please let me know what you think, especially if you try making yourself a rug like this.

Thursday, August 02, 2012

Dazzling


A surprise in my letterbox yesterday: a beautiful little book published by Sanderson Gallery, looking back over its first 10 years.  The biggest, and most delightful surprise of the book, is that my Dispersant installation was the photo they chose to illustrate the section on their Outeredge Project.  The text describes Dispersant as "completely dazzling" which is very nice.


I will be showing work again at Sanderson Gallery this month in their 150x150x150 group show (opening on 7 August). The works are all 150cm2, all priced at $150. A great opportunity to purchase affordable contemporary art.  I used the show as an opportunity to experiment with stitching straight onto stretched canvas.


I blogged earlier about my Yellowcake Uranium piece, for which I couched curls of yellow yarn. I've actually made two of these and sent the second one to Sanderson as it is on the same kind of stretcher as the Asbestos, and I wanted them to be matching.  If you can't get to Sanderson's exhibition or miss out (I hear work sells quick at these shows) I might let you have the other Yellowcake which I actually think is prettier (its the one featured in this blog post)


I also made a piece of Blue Asbestos.  The Asbestos also uses the couching technique but this time with bundles white cotton crochet thread. Yes, I know its not blue, but I used as my model a photo of a kind of asbestos called fibrous tremolite which is in the amphibole blue category of asbestos.